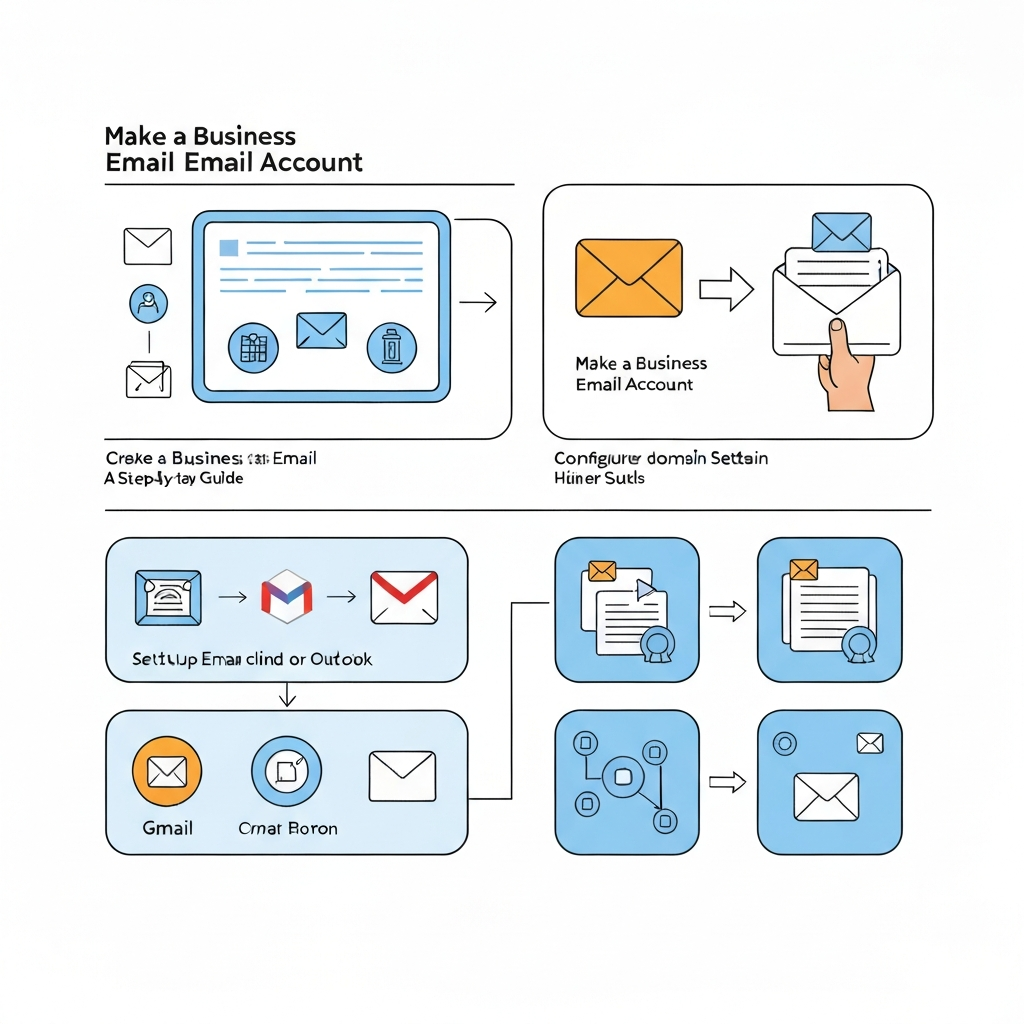
Make a Business Email Account: A Step-by-Step Guide

Imagine your business card. What does it say? Your name, title, company, and a professional email address. Now, imagine your email address is [email protected] or [email protected]. It doesn't quite convey the same level of professionalism, does it? In today's competitive landscape, establishing credibility and trust is paramount, and the first point of contact often sets the tone. That's where learning to make a business email account becomes not just an option, but a necessity. This comprehensive guide will walk you through why it's crucial and how to set one up, transforming your online presence from amateur to authoritative. We'll cover everything from understanding domain names to implementing robust security measures, ensuring your communication reflects the quality and seriousness of your business. For those looking for a quick start, check out our guide on how to get a business email.
Understanding Domain Names for Your Business Email
A custom domain email address, like [email protected], is the cornerstone of professional online identity. Unlike free email services (like Gmail, Outlook.com, Yahoo Mail), a custom domain email is tied directly to your business's website domain. If you don't have a domain name yet, think of it as your business's unique address on the internet. Purchasing a domain name is the first essential step. It's your digital real estate, and it allows you to create branded email addresses for yourself and your team.
Benefits of a Custom Domain:
- Credibility: It immediately signals that you are a legitimate business, not a hobbyist or individual using a generic service.
- Branding: Reinforces your brand name with every email sent.
- Memorability:
[email protected]is easier for clients to remember than a long, complex free email address. - Professionalism: It shows you've invested in your business's image.
- Control: You own the domain and have more control over your email services.
When choosing a domain name, aim for something that is:
- Relevant to your business name.
- Easy to spell and remember.
- Preferably a
.comextension, though other extensions (like.co,.net,.org, or industry-specific ones) can also work.
You can register domain names through various registrars like GoDaddy, Namecheap, or Google Domains. For instance, GoDaddy offers comprehensive solutions to help you choose and register your domain name, which is the first step in securing your professional email presence. Learn more about professional business email from GoDaddy.
Choosing the Right Business Email Hosting Provider
Once you have your domain name, you need a service to host your email. This is where business email hosting comes in. Several providers offer robust solutions, each with different features, pricing, and integration capabilities. Your choice will depend on your business size, budget, and specific needs.
Key factors to consider:
- Reliability and Uptime: Emails are critical. Your provider should guarantee high uptime.
- Storage Space: How much storage do you need per mailbox?
- Security Features: Look for features like spam filtering, virus protection, encryption, and two-factor authentication.
- Scalability: Can the service grow with your business? Can you easily add more users?
- Integration: Does it integrate with other tools you use (calendars, cloud storage, productivity suites)?
- Support: What kind of customer support is offered?
- Cost: Pricing models vary, often per user per month.
Popular options include:
- Google Workspace (formerly G Suite): Offers Gmail's familiar interface, plus Google Drive, Calendar, Meet, Docs, Sheets, and Slides. It's a powerful all-in-one solution. Learn more about making business email with Gmail.
- Microsoft 365: Provides Outlook email with robust features, along with Word, Excel, PowerPoint, Teams, OneDrive, and SharePoint. Excellent for businesses already in the Microsoft ecosystem.
- Dedicated Email Hosting Providers: Services like Zoho Mail, Rackspace, or those bundled with web hosting packages (like Bluehost, SiteGround) offer email-specific solutions.
- Web Hosting Bundles: Many web hosting providers offer business email as part of their hosting packages. While convenient, ensure the email features are robust enough for your needs. For example, WPBeginner details how to set up email with providers like Bluehost. See setup guides on WPBeginner.
When selecting, consider what aligns best with your overall workflow. For instance, if you're a small business owner looking for a comprehensive suite, Google Workspace or Microsoft 365 are strong contenders. If you prioritize simplicity and cost-effectiveness, a dedicated email hosting service might be better. This decision is crucial for long-term productivity and efficiency. Choosing wisely ensures you have the right tools for success. You can find more insights in our article on Best Email for Business: Choosing Wisely with AI.
Step-by-Step Guide: How to Make a Business Email Account
The process of setting up your business email account is generally straightforward, especially with modern hosting providers. Here’s a breakdown to guide you through the essential steps:
Step 1: Secure Your Domain Name
If you haven't already, the first step is to register your domain name. This is your unique online identity.
- Action: Visit a domain registrar (e.g., GoDaddy, Namecheap, Google Domains).
- Action: Search for your desired domain name and check its availability. Aim for something memorable and relevant to your brand.
- Action: Purchase the domain name. This is typically an annual fee.
- Tip: Consider purchasing privacy protection to keep your personal information from being publicly listed in the WHOIS database.
Step 2: Choose Your Business Email Hosting Provider
Based on the factors discussed earlier (reliability, features, cost, etc.), select your provider. This is where you'll manage your email services.
- Action: Sign up for a plan that suits your needs (e.g., Google Workspace Business Starter, Microsoft 365 Business Basic, or a specific email hosting package from your web host).
- Action: During signup, you'll usually be prompted to enter the domain name you own.
Step 3: Set Up Your Email Account(s)
This is where you create the actual email addresses associated with your domain.
- Action: Follow your chosen provider's instructions to create user accounts. For example, you might create
[email protected],[email protected], or[email protected]. - Action: Set strong, unique passwords for each account.
- Example: For a small business, you might start with one primary email (e.g.,
[email protected]or[email protected]) and add more as your team grows. This process is fundamental for an email setup for small business.
Step 4: Configure DNS Records (MX Records)
This is a critical technical step that tells the internet where to send emails for your domain. Your email hosting provider will give you the specific records.
- Action: Log in to your domain registrar's control panel.
- Action: Navigate to the DNS management section.
- Action: Add or modify the MX (Mail Exchanger) records provided by your email hosting provider. These records point to your email server.
- Example: Your provider might give you records like
mx.google.comwith a priority number. You'll enter these into your domain's DNS settings.
- Example: Your provider might give you records like
- Note: DNS changes can take up to 24-48 hours to propagate across the internet, though it's often much faster. Your email host will provide detailed instructions for this crucial step. Blogs like Flock can help explain the importance of domain names and MX records for creating work email IDs. Learn more about creating work email IDs.
Step 5: Access Your Email
Once DNS has propagated, your business email is ready to use.
- Action: You can access your email via your provider's webmail interface (e.g., Gmail for Google Workspace, Outlook Web App for Microsoft 365).
- Action: You can also configure your email client (like Outlook, Thunderbird, Apple Mail) or mobile device to send and receive emails using the POP3 or IMAP settings provided by your host.
Setting Up Your Professional Email Signature
A professional email signature is more than just your name and contact details; it's a mini-billboard for your brand. It appears at the end of every email you send, providing essential information and reinforcing your professional image.
What to include:
- Your Full Name: Clearly state who you are.
- Your Title: Your role in the company.
- Company Name: Reinforce your brand.
- Company Website: A direct link to your online presence.
- Phone Number: Direct contact line.
- Company Logo (Optional but Recommended): Adds visual branding.
- Social Media Links (Optional): Link to professional profiles (LinkedIn, Twitter).
- Call to Action (Optional): e.g., "Visit our new product page," "Download our latest report."
How to create one:
- Manual Creation: Most email clients allow you to design and save a signature within their settings.
- Signature Generators: Online tools can help you create visually appealing, mobile-responsive signatures.
Best Practices:
- Keep it concise: Avoid overwhelming the recipient.
- Use clear, readable fonts: Stick to standard web-safe fonts.
- Optimize images: Ensure your logo isn't too large and loads quickly.
- Make it mobile-friendly: Many emails are read on phones.
- Test it: Send a test email to yourself and colleagues to ensure it looks good on different devices and email clients.
A well-crafted signature can drive traffic to your website, provide instant contact information, and enhance your overall professional presentation. Paying attention to details like this can significantly impact your email reply speed ROI, boosting both productivity and profits.
Essential Security Best Practices for Business Email
In an era of increasing cyber threats, safeguarding your secure business email is paramount. A data breach involving customer information or sensitive company communications can be devastating for your reputation and bottom line.
Key security measures:
- Strong, Unique Passwords: Use complex passwords (a mix of upper/lowercase letters, numbers, symbols) and never reuse them across different services. Consider a password manager.
- Two-Factor Authentication (2FA): Enable 2FA whenever possible. This adds an extra layer of security, requiring a second verification step (like a code from your phone) in addition to your password.
- Regular Software Updates: Keep your operating system, email client, and any associated software updated to patch vulnerabilities.
- Phishing Awareness: Educate yourself and your team about phishing scams. Be wary of suspicious links, attachments, and urgent requests for personal information.
- Spam Filtering: Utilize and configure the spam filters provided by your email host.
- Encryption: For highly sensitive communications, consider end-to-end encryption solutions.
- Access Control: Limit access to email accounts and ensure inactive accounts are promptly deactivated.
- Data Backup: Regularly back up your email data, especially if you're not using a cloud-based solution with built-in backups.
Implementing these practices ensures your business communications remain confidential and protected.
Integrating Your Business Email with Productivity Tools
Your business email account is the hub for much of your professional communication, but its true power is unlocked when integrated with other productivity tools. This synergy streamlines workflows, saves time, and enhances efficiency. Many services like Microsoft 365 offer built-in integrations for this exact purpose. Explore options for business email creation.
Think about how your email interacts with:
- Calendars: Scheduling meetings, setting reminders, and managing your day directly from your inbox.
- Task Management Apps: Turning emails into actionable tasks, assigning them, and tracking progress.
- Customer Relationship Management (CRM) Software: Logging client communications, tracking sales interactions, and managing leads directly from your email client.
- Cloud Storage: Easily attaching files from or saving emails to services like Google Drive, OneDrive, or Dropbox.
Modern solutions are taking integration even further. For instance, tools like an ai executive assistant can help streamline your workflow by automating repetitive email tasks, prioritizing your inbox, drafting responses, and even scheduling meetings on your behalf. By leveraging such advanced AI capabilities, you can significantly boost your email productivity tips and focus on more strategic aspects of your business. Consider using an ai executive assistant to manage your email communications more effectively, ensuring no important message falls through the cracks and that your response times remain sharp. Modern ai executive assistant platforms offer advanced email management features that can be a game-changer for busy professionals and small teams. You can also find excellent AI tools to boost your work productivity with our guide on the best AI for work.
Furthermore, tools that help with inbox cleanup and email organization can also make a significant difference. Mastering your inbox is key to maintaining focus and ensuring timely responses, which directly impacts your business's performance. For more on this, see our guide on Inbox Cleanup: Master Your Email Productivity.
Conclusion: Elevating Your Business Communication
Learning to make a business email account is a foundational step towards building a professional, credible, and trustworthy brand. It's an investment that pays dividends in customer trust, brand recognition, and operational efficiency. From securing your domain name to implementing robust security and integrating with productivity tools, each step contributes to a more polished and effective communication strategy. You can discover more about boosting productivity with AI for your business email address in our related article: Business Email Address: Boost Productivity with AI.
Don't let a generic email address hold your business back. Embrace the professional image that a custom domain email provides. Start by securing your domain, choosing the right business email hosting provider, and meticulously setting up your account and signature. Remember to prioritize secure business email practices and leverage technology, including AI assistants, to maximize your email productivity tips.
Ready to take your business communication to the next level? Begin the process today to establish a professional online presence that truly represents your brand's value. Your clients and partners will notice.
Frequently Asked Questions
