The Ultimate Guide: How to Delete All & Stop Future Gmail Promotions
Is your Gmail Promotions tab a chaotic wasteland of unread offers, forgotten newsletters, and endless sales alerts? You're not alone. For many, Gmail's default categorization system, while helpful in theory, often turns the Promotions tab into a digital junk drawer. It's easy to let it pile up, leading to missed important emails, wasted time sifting through clutter, and a general sense of email overwhelm. The good news? You don't have to live with a perpetually overflowing Promotions tab. This ultimate guide will show you precisely how to delete all promotion email in Gmail, and more importantly, equip you with the strategies to stop future promotions from ever reaching your primary inbox again. Get ready to reclaim your digital peace of mind!
Why Your Promotions Tab is Overwhelming
Gmail introduced the Promotions tab (alongside Social, Updates, and Forums) to help users manage their inboxes by automatically sorting incoming mail into relevant categories. The idea was to keep your Primary inbox clean, reserving it for personal and crucial communications. However, for many users, the Promotions tab quickly becomes a black hole where legitimate offers, interesting newsletters, and even important notifications from services you use frequently can get lost among hundreds or thousands of irrelevant marketing emails.
The sheer volume is often the biggest culprit. Companies send out daily or weekly promotions, and if you've ever signed up for a free trial, made an online purchase, or simply browsed a website that captured your email, you're likely on multiple marketing lists. This constant influx can make the task of decluttering seem daunting, leading to procrastination and an ever-growing email count. But fear not, we're about to tackle this head-on.
Method 1: How to Delete All Promotions in Gmail (Bulk Deletion)
The first step to a cleaner inbox is to clear out the existing clutter. While manually deleting emails one by one is tedious, Gmail offers powerful tools to delete hundreds or even thousands of promotional emails in one go. This is the core of learning how to delete all promotion email in Gmail effectively.
On Desktop (Recommended for Bulk Deletion)
This is the most efficient way to perform a mass deletion of your promotional emails.
- Open Gmail: Go to mail.google.com in your web browser and log in to your account.
- Navigate to Promotions: In your inbox, click on the "Promotions" tab at the top. If you don't see it, it might be hidden under the "More" or "+" sign next to your other tabs.
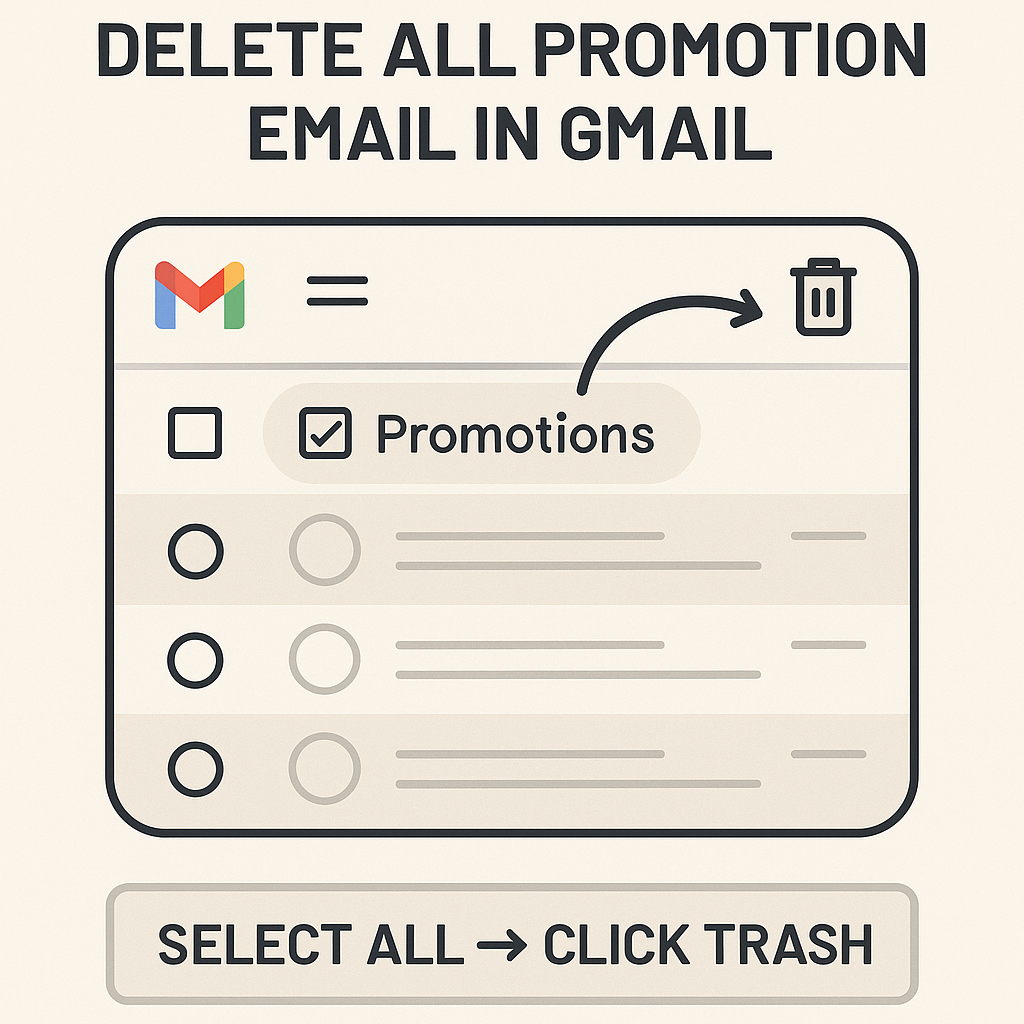
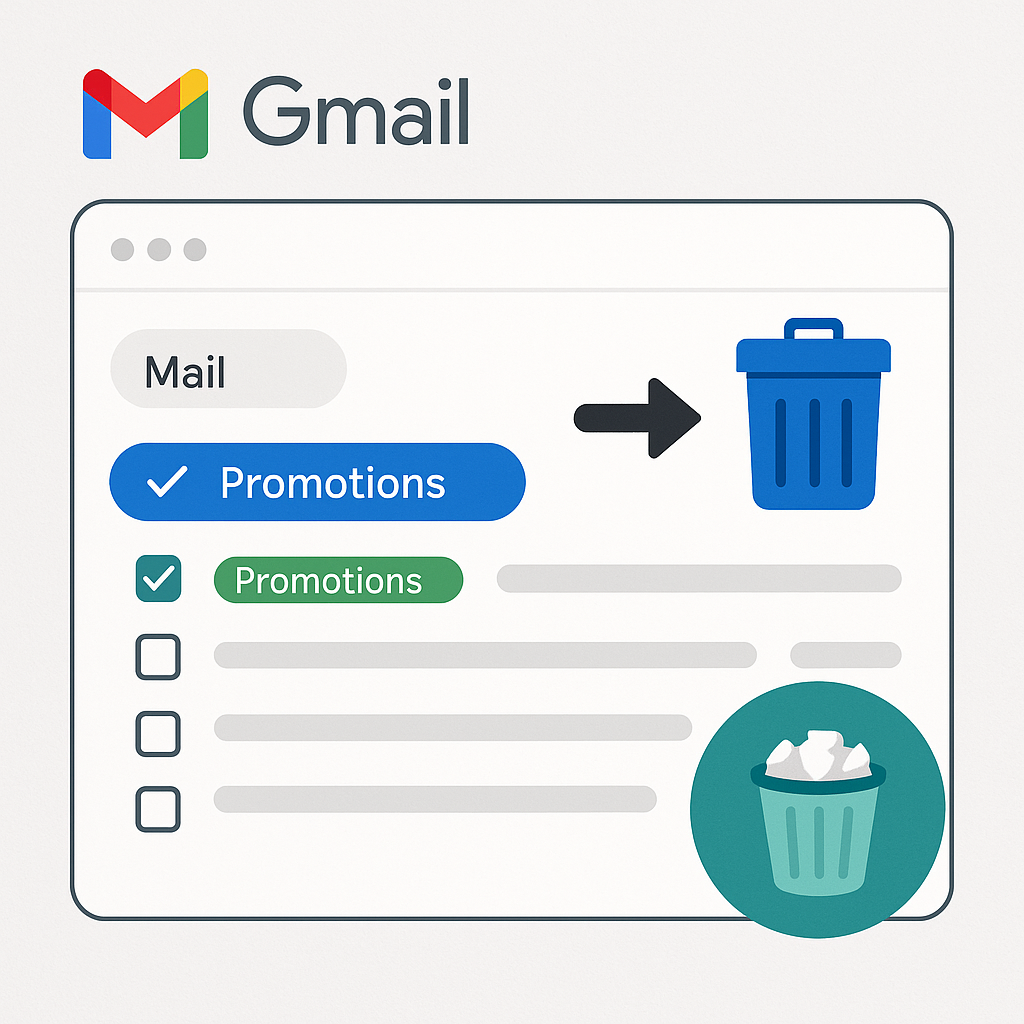
- Select All Visible Emails: Look for the small checkbox at the top left, just above your emails. Click it. This will select all the emails currently visible on that page (usually 50 or 100, depending on your display settings).
- Select All Conversations: A message will appear above your emails stating, "All 50 conversations on this page are selected." Crucially, it will also show a link: "Select all conversations that match this search." Click this link. This is the magic step that selects every single promotional email in your Promotions tab, regardless of how many pages they span.
- Confirm Selection: The message will now change to something like, "All [number] conversations in Promotions are selected."
- Delete Emails: Click the "Delete" (trash can) icon, usually located in the toolbar just above your emails.
- Confirm Deletion: Gmail will ask for confirmation, stating that this action will affect a large number of conversations. Click "OK" or "Delete" to proceed.
- Empty Trash (Optional but Recommended): Once deleted, these emails are moved to your Trash folder, where they will remain for 30 days before being permanently deleted. To truly free up space and ensure they're gone, you can go to your "Trash" folder (usually found in the left sidebar under "More") and click "Empty Trash now."
For visual guides and further confirmation, you can refer to external resources like Guiding Tech's guide on deleting promotion emails or TechNorms' simple steps.
On Mobile (Limited Bulk Deletion)
While the mobile app is convenient, it doesn't offer the "Select all conversations that match this search" option, making true bulk deletion more cumbersome. You can only select emails page by page.
- Open Gmail App: Launch the Gmail app on your smartphone or tablet.
- Go to Promotions: Tap the three horizontal lines (menu icon) in the top left corner, then select "Promotions" from the categories list.
- Select Emails: Tap and hold one email until a checkbox appears. Then, tap other emails to select them individually.
- Delete: Tap the trash can icon at the top of the screen.
For significant cleanup, the desktop method is vastly superior. If you only have a few hundred to clear, the mobile method might suffice.
Method 2: Stopping Future Promotions (Unsubscribe & Block)
Deleting old emails is just one part of the battle. To truly achieve a clutter-free inbox, you need to prevent new promotional emails from arriving. This involves two key strategies: unsubscribing from mailing lists and blocking unwanted senders.
Unsubscribing from Mailing Lists
This is your primary weapon against unwanted newsletters and marketing emails from legitimate companies. Most reputable senders include an easy way to opt out.
- Open the Email: Open any promotional email you no longer wish to receive.
- Locate the Unsubscribe Link: Scroll to the very bottom of the email. You'll typically find a small, often unassuming link that says "Unsubscribe," "Change email preferences," or "Manage your subscription."
- Click and Follow Instructions: Click the unsubscribe link. This will usually take you to a web page where you might have to confirm your decision, select which types of emails you want to stop receiving, or provide a reason for unsubscribing.
- Be Patient: It can take a few days, or sometimes up to 10 business days, for your unsubscribe request to be processed. If you continue to receive emails after this period, consider blocking the sender.
When to use Unsubscribe: Use this for emails from companies or organizations you've legitimately interacted with in the past (e.g., online stores, services, newsletters you once signed up for). It's the polite and effective way to opt out.
Blocking Unwanted Senders
If unsubscribing isn't an option (e.g., the link is missing, broken, or you suspect it's spam), or if you're dealing with persistent unwanted emails, blocking the sender is your next step.
- Open the Unwanted Email: Open the email from the sender you wish to block.
- Find the "More" Options: On desktop, click the three vertical dots (More options) icon in the top right corner of the email, next to the reply arrow. On mobile, it's usually also three dots.
- Select "Block [Sender Name]": From the dropdown menu, select "Block [Sender Name]" (e.g., "Block 'Spammy Deals'").
- Confirm: A confirmation pop-up will appear. Click "Block."
What Happens When You Block: All future emails from that specific sender will automatically go to your Spam folder. You can review your blocked senders list in Gmail settings under "Filters and Blocked Addresses."
When to use Block: Use this for senders you never want to hear from again, especially if they are unsolicited or potentially malicious. Be cautious when blocking if you might need to receive emails from them in the future (e.g., a customer service email that uses the same address as marketing).
Method 3: Creating Filters to Redirect or Archive Promotions
Gmail filters are incredibly powerful tools that allow you to automate the handling of incoming emails. You can use them to automatically delete, archive, label, or move emails based on specific criteria. This is a crucial step in learning how to stop promotions on Gmail more intelligently.
How to Create a Gmail Filter (Desktop Recommended)
- Identify Common Patterns: Look at your promotional emails. What do they have in common?
- Sender Email Addresses: Do they come from specific domains (e.g.,
@marketing.example.com,@newsletter.store.net)? - Keywords in Subject Line or Body: Do they often contain words like "Sale," "Discount," "Offer," "Newsletter," "Promo," "Limited Time"?
- Sender Name: Are they from a specific company name?
- Sender Email Addresses: Do they come from specific domains (e.g.,
- Start a Search: In the Gmail search bar at the top, type in a keyword, sender email, or sender name that you want to filter. For example,
from:([email protected] OR [email protected])orsubject:("Sale" OR "Discount"). - Open Search Options: Click the "Show search options" icon (a small downward-pointing arrow) at the right end of the search bar. This opens a detailed filter creation box.
- Refine Your Criteria:
- From: Enter specific sender email addresses.
- To: (Less common for promotions, but useful if you have aliases).
- Subject: Enter keywords found in the subject line.
- Has the words: Enter keywords found anywhere in the email body.
- Doesn't have: Exclude emails with specific words.
- Size/Date: (Less relevant for ongoing promotions).
- Has attachment: (Usually not for promotions).
Tip: You can combine criteria. For instance, to filter all emails from "Shopify" that land in your Promotions tab, you might search for
from:shopify.com category:promotions. - Create Filter: Once your criteria are set, click "Create filter" at the bottom right of the search options box.
- Choose Actions: This is where you decide what Gmail should do with emails matching your criteria. Common actions for promotions include:
- Skip the Inbox (Archive it): Emails will bypass your inbox and go straight to your All Mail archive. This is excellent for newsletters you want to keep but don't need to see immediately.
- Mark as read: Automatically marks the email as read.
- Apply the label: Create a new label (e.g., "Newsletters," "Shopping Deals") and apply it. This keeps your inbox clean but makes them easy to find later.
- Delete it: Automatically sends these emails to Trash. Use this with caution, especially for broad filters, as you might delete something important accidentally.
- Never send it to Promotions: This is useful if a legitimate email is consistently miscategorized as a promotion.
- Apply filter to matching conversations: Check this box to apply the filter to existing emails that match your criteria. This helps clean up past emails as well.
- Finalize: Click "Create filter" again.
By strategically using filters, you can gain granular control over your incoming mail, ensuring that only the emails you truly want to see land in your Primary inbox. For example, if you want to keep certain promotions but don't want them in your main feed, you could create a filter to "Skip the Inbox" and "Apply label: [Specific Promotion Name]".
Proactive Steps: Managing Subscriptions & Avoiding Spam
While the previous methods help you react to existing and incoming promotions, truly mastering your inbox involves proactive habits. Think of it as preventing the mess in the first place.
Regular Subscription Review
Set a recurring reminder (e.g., once a month or quarter) to review your active subscriptions. You can quickly do this by typing unsubscribe into your Gmail search bar. This often reveals a plethora of newsletters and marketing emails you might have forgotten about or no longer wish to receive. Take a few minutes to unsubscribe from anything that no longer serves you. This aligns well with the principles of achieving Inbox Zero, where active management is key.
Be Mindful of Sign-Ups
Every time you sign up for a free trial, download an e-book, or make an online purchase, you're often asked for your email address. Before hitting "submit," look for pre-checked boxes that opt you into marketing emails. Uncheck them! If you only need to provide an email for a one-time download or a brief interaction, consider using a disposable or secondary email address to protect your primary inbox from future spam.
Utilize Email Aliases
Gmail allows you to use aliases by adding a plus sign (+) and any word before the "@" symbol in your email address (e.g., [email protected]). Emails sent to these aliases still arrive in your main inbox. You can then create filters based on these aliases to automatically sort or delete emails, helping you identify where your email address was shared and how to filter it.
Report Spam
If an email is clearly unsolicited junk, phishing, or malicious, don't just delete it. Use Gmail's "Report spam" button. This helps Google's algorithms learn and improve spam detection for everyone, making Gmail a safer place for all users.
Consider Third-Party Email Clean-up Tools
While not strictly necessary with Gmail's built-in features, some third-party services specialize in identifying and helping you unsubscribe from multiple mailing lists at once. These tools can offer a broader overview of your subscriptions across various categories. For instance, services like Clean.email (which also provides tips on how to delete old promotions) can be useful for an initial deep clean, though always exercise caution when granting third-party access to your email.
Troubleshooting Common Gmail Promotion Issues
Even with the best strategies, you might encounter a few hiccups. Here’s how to address them:
"I Unsubscribed, But I'm Still Getting Emails!"
This is a common frustration. Here's why it happens and what to do:
- Processing Time: As mentioned, it can take up to 10 business days for an unsubscribe request to be fully processed.
- Different Sender Addresses: Companies sometimes use multiple email addresses for different types of communications (e.g.,
[email protected],[email protected],[email protected]). Unsubscribing from one might not unsubscribe you from all. In this case, block the specific sender address that continues to send unwanted emails. - Re-Subscription: Did you accidentally sign up for something else from the same company? Double-check.
- Shady Practices: Some less reputable senders ignore unsubscribe requests or use deceptive tactics. For these, blocking is your best bet, and reporting them as spam helps Gmail identify them.
"Important Emails Are Going to My Promotions Tab!"
Sometimes, Gmail's categorization isn't perfect, and legitimate emails might end up in Promotions. If this happens:
- Drag and Drop: On desktop, simply drag the email from the Promotions tab to your Primary tab. Gmail will ask if you want to do this for future messages from that sender. Click "Yes."
- Right-Click (Desktop): Right-click on the email, select "Move to tab," and then "Primary."
- Move to Primary (Mobile): Open the email, tap the three vertical dots (More options), tap "Move to," and then select "Primary."
This teaches Gmail how you prefer to categorize emails from that specific sender.
"I Accidentally Deleted Important Emails!"
Don't panic! When you delete emails in Gmail, they are moved to the "Trash" folder and remain there for 30 days before being permanently deleted. During this 30-day window, you can recover them:
- Go to Trash: In the left sidebar of Gmail, click on "Trash."
- Select Emails: Find the emails you wish to recover and select them using the checkboxes.
- Move to Inbox: Click the "Move to" icon (looks like a folder with an arrow) in the toolbar and select "Inbox" (or any other desired folder/label).
Always double-check before performing large-scale deletions, especially if you haven't used Gmail's bulk selection feature before.
Conclusion: Reclaiming Your Inbox
A cluttered Promotions tab can be a source of stress and distraction, pulling your focus away from what truly matters. By understanding how to delete all promotion email in Gmail and implementing the strategies outlined in this guide – from bulk deletion and intelligent filtering to proactive subscription management – you can transform your Gmail experience.
Imagine logging into an inbox where only relevant emails demand your attention. This isn't just about tidiness; it's about boosting your productivity, reducing digital overwhelm, and ensuring you don't miss important communications. Take control today. Start by clearing out the old, then set up your defenses against the new. Your future, clutter-free self will thank you!
Ready to apply these steps? Dive into your Gmail account now and begin your journey to a cleaner, more organized digital life. For more tips on email management and digital productivity, explore our other guides, such as How to Get to Inbox Zero: A Beginner's Guide to Email Freedom, and learn how to maintain an efficient email workflow.
Frequently Asked Questions
