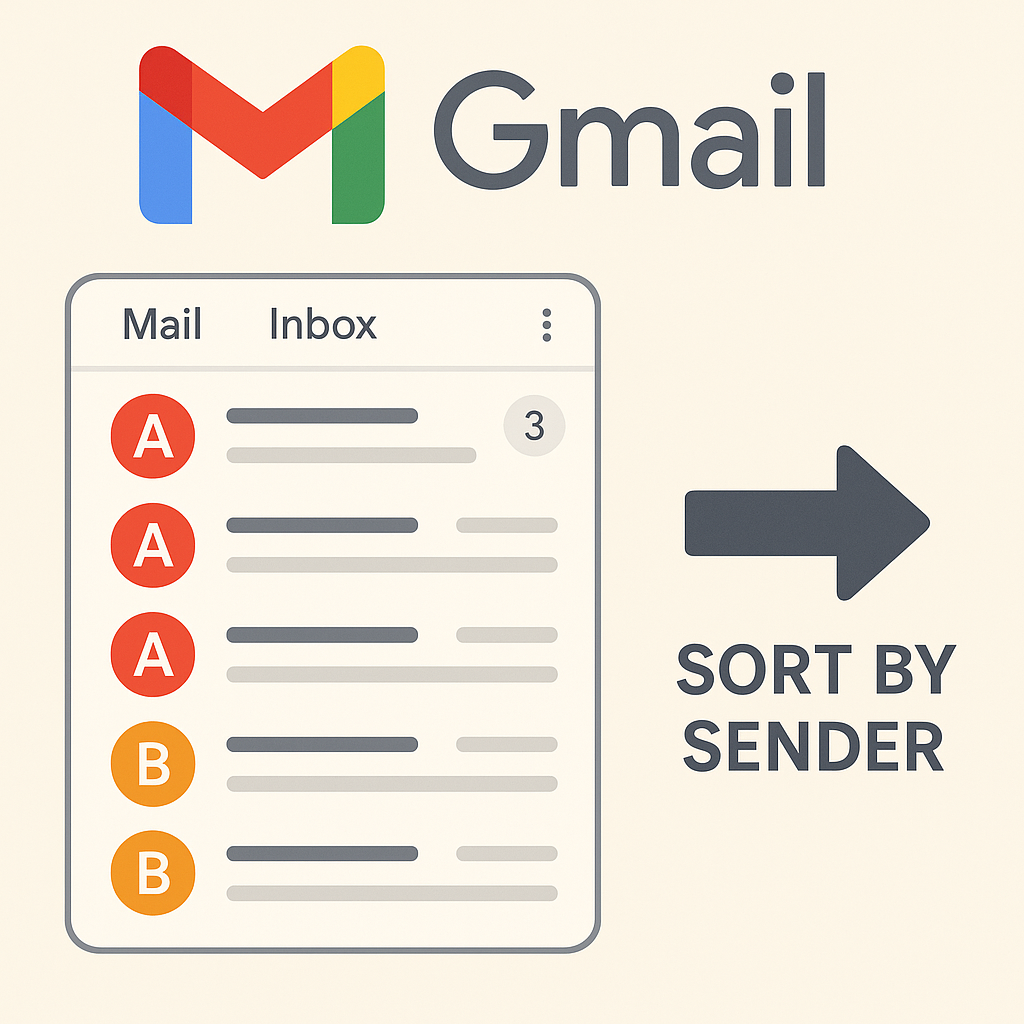
Gmail Sort by Sender: Tame Your Inbox

In today's hyper-connected world, your inbox can feel less like a communication tool and more like a digital battlefield. Emails flood in from every direction – clients, colleagues, vendors, newsletters, promotions, and the occasional personal message. Without a system, it's easy to feel overwhelmed, leading to missed deadlines, lost opportunities, and a constant sense of urgency. One of the most effective ways to bring order to this chaos is by mastering the art of sorting your Gmail by sender.
This isn't just about tidiness; it's a strategic move to reclaim your time, boost your productivity, and ensure you're focusing on what truly matters. Whether you're a busy professional juggling multiple projects, an entrepreneur building a business, or part of a sales and marketing team managing high volumes of leads and client interactions, learning to sort email by sender in Gmail is a game-changer. Let's dive into how you can tame your inbox and transform your email management techniques.
Why Sorting Gmail by Sender is Crucial for Productivity
An unorganized inbox is a productivity killer. It leads to:
- Wasted Time: Searching for specific emails from particular senders can consume valuable minutes, which add up quickly.
- Missed Opportunities: Important client requests or time-sensitive offers can get buried under less critical messages.
- Increased Stress: The constant visual clutter and the feeling of being behind can significantly impact your mental well-being and focus.
- Reduced Efficiency: Inability to quickly access information from key contacts hinders decision-making and workflow.
Sorting your Gmail by sender directly addresses these pain points. By grouping emails from specific individuals or organizations, you can:
- Prioritize Emails: Easily identify and respond to communications from your most important contacts – clients, your boss, key partners. This is fundamental to effective email prioritization.
- Streamline Workflows: If you often need to reference past conversations with a specific vendor or team member, having them grouped makes this process instantaneous.
- Focus on Context: When you're working on a specific project or dealing with a particular client, you can pull up all related correspondence from that sender in one place.
- Improve Response Times: Quick access to relevant conversations means quicker responses, enhancing your professional image and client satisfaction.
- Reduce Information Overload: By segmenting your inbox, you can process emails in batches based on sender relevance, making the task less daunting.
For professionals in sales and marketing, this is particularly vital. Imagine needing to follow up with a prospect; having all their emails neatly categorized by sender allows for a more personalized and informed outreach, supporting your lead nurturing strategy. Similarly, for entrepreneurs, managing communications from investors, suppliers, and customers efficiently is key to operational success.
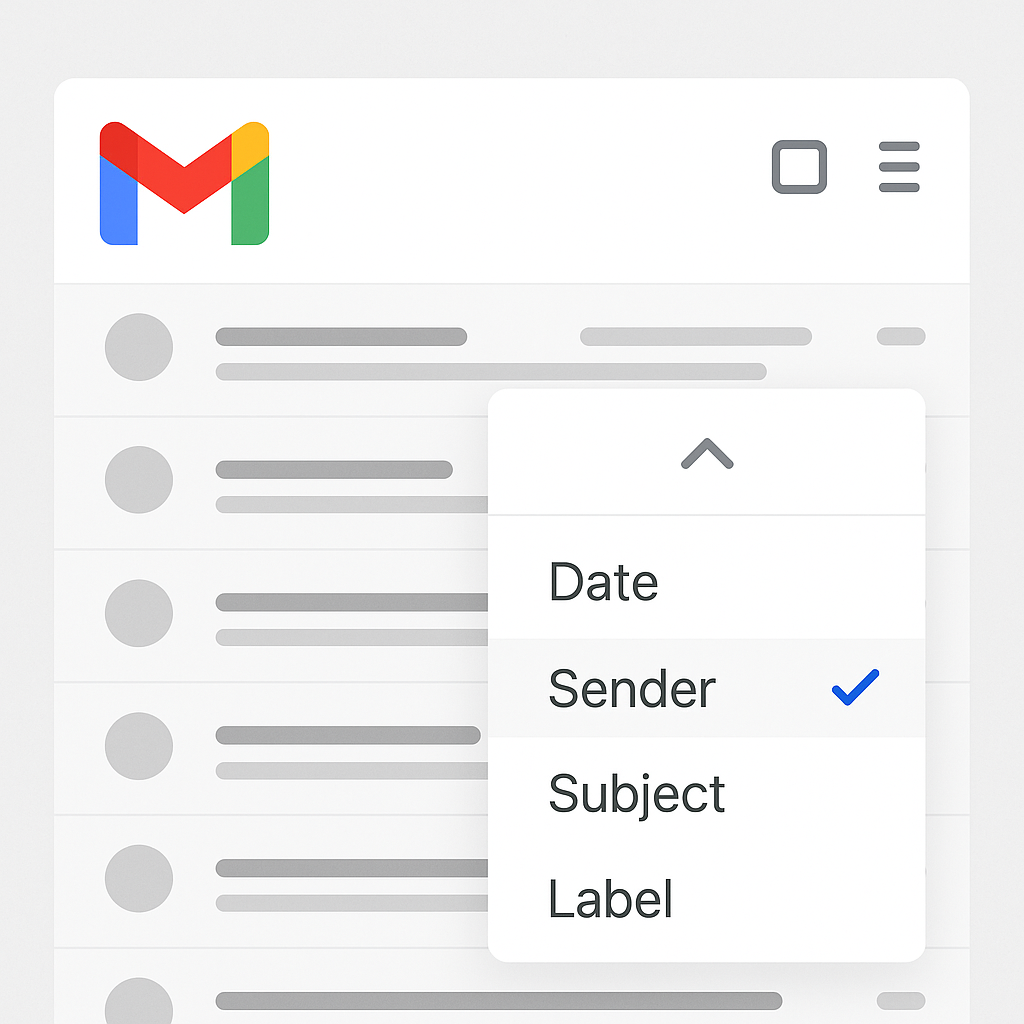
Step-by-Step Guide: Manually Sorting Gmail by Sender
While Gmail's primary inbox view is chronological, it offers powerful search capabilities that allow you to effectively group and manage emails by sender. Think of it less as "sorting" in a traditional list sense and more as "filtering and grouping" for action.
Using the 'From' Search Operator
The most direct way to see emails from a specific sender is by using Gmail's search bar. You can leverage the 'from:' operator.
- Open Gmail: Log in to your Gmail account.
- Use the Search Bar: In the search bar at the top, type
from:[email protected](replace[email protected]with the actual email address). - Press Enter: Gmail will display all emails sent from that specific address.
Pro Tip: You can also use from:sendername if you're unsure of the exact email address but know the name associated with it. Gmail is often smart enough to find matches.
Searching for Multiple Senders
If you want to group emails from a few key people, you can use the OR operator:
from:[email protected] OR from:[email protected]
This will show you all emails from either sender1 or sender2.
Performing Actions on Searched Emails
Once you've performed a search, you can take bulk actions:
- Select All: After your search results appear, you'll see checkboxes at the top of the email list. Check the box to select all emails currently visible on the page.
- Select All Conversations: If you have many pages of results, a prompt will appear above the emails saying, "All X conversations on this page are selected. Select all conversations that match this search." Click this link to select all emails matching your search query, across all pages.
- Take Action: With emails selected, you can then archive them, delete them, mark them as read/unread, star them, or apply labels. This is where the real organization happens.
As noted by Wisestamp, using the “from:” search operator helps group emails from a specific sender or senders, on which you can perform your desired action.
While these search methods are powerful for quick retrieval and bulk actions, they don't automatically organize your inbox into persistent folders sorted by sender. For that, we turn to Gmail's filtering system.
Advanced Gmail Filters: Automating Sender-Based Sorting
Gmail filters are the backbone of automated email management. They allow you to set rules that automatically perform actions on incoming emails based on criteria you define, such as the sender.
How to Create a Filter Based on Sender
This is where you truly automate sorting by sender.
- Access Filter Creation: You can start this process in a few ways:
- From the search bar: Perform a search (e.g.,
from:[email protected]), then click the "Show search options" icon (three horizontal lines with a slider) on the right side of the search bar. - Settings: Go to Settings (gear icon) > See all settings > Filters and Blocked Addresses > Create a new filter.
- From the search bar: Perform a search (e.g.,
- Define Criteria: In the filter creation window, enter the sender's email address in the "From" field. You can also add other criteria like keywords in the subject or body if you want to be more specific.
- Test Your Search (Optional but Recommended): Click the "Search" button to see if the filter correctly captures the emails you intend.
- Create Filter: Click "Create filter" at the bottom right.
- Choose Actions: This is the crucial step for sorting. You can select multiple actions:
- Skip the Inbox (Archive it): If you want to keep emails from certain senders out of your main view but accessible via labels.
- Mark as read: For newsletters or less urgent updates.
- Star it: To flag important emails for follow-up.
- Apply the label: This is key for organization. You can create a new label (e.g., "Client A," "Project X," "Vendor Y") or choose an existing one.
- Forward it: To send copies to another address.
- Delete it: For unwanted senders.
- Never send it to Spam: Ensure important emails from trusted senders aren't marked as spam.
- Always mark it as important / Never mark it as important: Influence Gmail's priority inbox.
- Categorize as: Assign emails to tabs like Primary, Social, Promotions, Updates, or Forums.
- Apply to Existing Conversations: Check the box "Also apply filter to matching conversations" if you want to organize past emails that fit the criteria.
- Create Filter: Click the "Create filter" button.
By consistently creating filters for your most frequent or important senders, you're effectively telling Gmail how to sort and manage those emails automatically. This is a fundamental aspect of advanced workflow automation software for your inbox.
Leveraging Labels and Folders for Sender Organization
Labels in Gmail function much like folders in traditional email clients, but with more flexibility. You can apply multiple labels to a single email, and emails can appear in multiple "folders" (labels) simultaneously.
Creating and Applying Labels
When setting up your filters (as described above), you can choose to "Apply the label."
- New Label: If you don't have a label for a specific sender or group of senders, click "New label..." in the filter action menu. Enter a descriptive name (e.g., "Client - Acme Corp," "Team - Marketing," "Notifications - Google Alerts").
- Nested Labels: For more complex organization, you can create nested labels. For example, you could have a top-level label like "Clients," and then nested labels under it like "Clients/Acme Corp," "Clients/Beta Solutions."
How Labels Help with Sender Sorting
- Visual Grouping: On the left-hand sidebar in Gmail, all your labels are listed. Clicking on a label will show you only the emails that have that label applied, effectively presenting you with a view sorted by the sender associated with that label.
- Quick Access: You can quickly navigate to all communications from a specific sender or group by clicking their corresponding label.
- Integration with Filters: Combine filters with labels to automatically sort incoming emails. For example, all emails from
[email protected]could be filtered to "Skip the Inbox" and "Apply the label: Company Support." This keeps your primary inbox clean while ensuring you can easily find support-related emails when needed.
This method provides a powerful way to manage email overload, especially when dealing with high volumes. You can create a dedicated label for every important contact or project. For instance, sales and marketing teams can create labels for each major client or prospect, allowing them to quickly review correspondence before a call or meeting.
To improve your overall email deliverability and sender reputation, understanding how your emails are perceived is crucial. Techniques to manage your outgoing emails and maintain a good sender score can complement your inbox organization efforts.
Beyond Manual Sorting: How AI Enhances Sender Prioritization
While manual filters and labels are incredibly powerful, managing them for hundreds or thousands of senders can still become a complex task. This is where Artificial Intelligence (AI) steps in to revolutionize email management.
The Limitations of Manual Filters
Manual filters require upfront setup and ongoing maintenance. If a sender changes their email address or you start working with new contacts, you need to remember to create new filters. Complex rules can also become difficult to manage. Prioritizing emails effectively in a high-volume inbox often requires more than just static rules.
AI-Powered Email Sorting and Prioritization
AI tools can analyze email patterns, sender importance, and content to intelligently sort, prioritize, and even automate responses. Here's how AI enhances sender-based organization:
- Intelligent Prioritization: AI can learn which senders are most important to you based on your past interactions, your calendar, and your role. It can then automatically flag or move these emails to a prioritized view, ensuring you never miss a critical message. This moves beyond simple sender rules to contextual understanding.
- Automatic Categorization: AI can identify the topic and sender of an email and assign it to the correct category or label without you needing to set up a rule for every single sender. This is particularly useful for newsletters, automated notifications, and less frequent contacts.
- Smart Summarization: Some AI tools can summarize long email threads from specific senders, allowing you to grasp the core information quickly without reading every message.
- Automated Responses: For common queries from specific senders, AI can draft or even send automated replies, freeing up your time for more complex tasks. This is a key aspect of an AI email time saver.
- Contextual Awareness: AI can understand the relationship between senders and your work. For example, it might know that emails from a specific client are high priority because they have a meeting scheduled soon, or that emails from a particular vendor are important for an ongoing project.
Consider leveraging advanced tools, such as an ai executive assistant, to further automate and intelligently manage your email communications. These platforms can act as a virtual gatekeeper, learning your preferences and ensuring that your most crucial communications are always at the forefront. They can help sort through the noise, highlight urgent matters, and manage routine correspondence, allowing you to focus on strategic tasks. This is part of a broader trend towards using AI for business efficiency, akin to how an automated insurance agent streamlines operations.
By integrating AI, you can move from reactive email management to a proactive, intelligent system. This approach is essential for anyone looking to implement a robust AI email strategy and make the most of tools like AI email prompts.
Best Practices for Maintaining an Organized Inbox
Implementing sorting by sender is only the first step. To truly maintain an organized inbox and ensure long-term productivity, consider these best practices:
- Be Consistent with Labels: Decide on a clear naming convention for your labels and stick to it. This makes your system predictable and easy to navigate.
- Regularly Review Filters: Schedule a monthly check-in to review your existing filters. Are they still relevant? Are there new senders you need to create filters for? Are any filters causing unintended consequences?
- Process Emails in Batches: Instead of checking email constantly, set aside specific times during the day to process your inbox. Use your sorted views (via labels) to tackle emails from specific senders or categories together.
- Don't Fear Archiving: Once you've dealt with an email or if it's already labeled and sorted, archive it. This removes it from your main inbox view, keeping it clean and focused. You can always find archived emails via search or by navigating to their label.
- Unsubscribe Ruthlessly: If you're receiving newsletters or promotional emails you don't read, take a moment to unsubscribe. This reduces the volume of incoming mail in the first place.
- Leverage Gmail's Categories: Beyond sender-specific sorting, ensure you're utilizing Gmail's built-in categories (Primary, Social, Promotions, Updates, Forums) effectively.
- Train Your Priority Inbox: If you use Gmail's Priority Inbox, actively mark emails as important or not important to train the system on what matters most to you. This works in tandem with sender-based organization.
- Consider a "Waiting For" Label: Create a label like "Waiting For Reply" and apply it to emails you've sent that require a response. This helps you track follow-ups.
By adopting these habits, you ensure that your sender-based organization remains effective and continues to contribute to your overall email management techniques. Think of it as maintaining a well-organized filing cabinet; regular tidying is essential.
For those who find even these manual techniques time-consuming, exploring tools that offer a personal assistant app experience can be a significant productivity boost. These solutions often integrate advanced AI to manage your communications more intelligently.
Conclusion: Reclaim Your Inbox with Smarter Sorting
An overflowing inbox doesn't have to be an insurmountable obstacle. By strategically sorting your Gmail by sender, you can transform your email from a source of stress into a powerful organizational tool. From mastering the 'from:' search operator and creating robust filters with labels to leveraging the cutting-edge capabilities of AI, there are multiple pathways to achieve a more efficient and productive communication workflow.
Start by identifying your most frequent and important senders. Implement filters and labels for them, archiving emails that don't need immediate attention. As you become more comfortable, you can expand this system to cover more of your incoming mail. Remember, the goal is not perfection overnight, but consistent improvement.
By dedicating a small amount of time to setting up these systems, you'll save countless hours in the long run, reduce mental clutter, and ensure that critical communications never get lost in the shuffle. Reclaim your focus, boost your productivity, and conquer your inbox by making sorting by sender a core part of your email management strategy.
```
Frequently Asked Questions