How to Set Up a New Email Address in Minutes

In today's hyper-connected world, your email address is often the first point of contact and a significant part of your digital identity. Whether you're launching a new venture, starting a side hustle, or simply want to organize your personal and professional communications more effectively, setting up a new email address is a fundamental step. Far from being a complex technical task, the process is now incredibly streamlined and can often be completed in just a few minutes. This guide will walk you through every step, ensuring you get a professional, functional, and secure email account up and running swiftly.
Why You Need a New Email Address
You might be wondering why you'd need a new email address when you already have one. The reasons are varied and often tied to professionalism, organization, and security. Let's break down some key motivations:
- Professionalism: A generic email address like `[email protected]` might suffice for personal use, but for business, a more professional look is essential. Using a custom domain (`[email protected]`) or even a clearly professional free address can significantly boost your credibility.
- Separation of Concerns: Keeping personal, work, and project-specific emails separate prevents clutter and ensures you don't miss important communications. Imagine a client email getting lost in a flood of social media notifications or personal correspondence.
- Branding: For businesses, a branded email address reinforces your company's identity with every message sent. It's a subtle yet powerful marketing tool. If you're looking to establish a strong online presence, a dedicated website email is a must.
- New Ventures: Starting a new business or project often calls for a fresh start. A new email address signifies this new beginning and keeps communications for that specific venture distinct.
- Security & Privacy: If your current email has been compromised or you're concerned about privacy settings, creating a new, secure account with robust security measures is a wise move.
The good news is that the barrier to entry for creating a new email address is lower than ever. You can easily set up new email address accounts that are both professional and highly functional, often in less time than it takes to brew a cup of coffee.
Choosing the Right Email Provider: Free vs. Paid Options
The first major decision you'll face is selecting an email provider. The landscape offers a spectrum of choices, from robust free services to comprehensive paid solutions. Understanding the differences will help you make an informed choice that suits your needs.
Free Email Services
Free email providers are an excellent starting point for individuals, students, and small businesses just getting off the ground. They offer essential features without an upfront cost.
- Pros:
- No cost involved.
- Easy and quick to set up.
- Sufficient storage for most personal use.
- Often include integrated calendars, cloud storage, and other productivity tools.
- Cons:
- Limited customization (e.g., no custom domain name).
- May have stricter limits on storage or sending capacity.
- Often display ads.
- May be perceived as less professional for certain business contexts.
Popular Free Providers:
- Gmail (Google): Offers a generous 15GB of storage (shared with Google Drive and Photos), excellent search capabilities, and integration with the Google Workspace ecosystem.
- Outlook.com (Microsoft): Provides a clean interface, good integration with Microsoft Office, and 15GB of mailbox storage.
- Yahoo Mail: Known for its large storage capacity (often 1TB) and a feature-rich interface.
- Mail.com: Offers a wide variety of domain choices (e.g., @mail.com, @usa.com, @engineer.com) and unlimited storage.
For those looking to create a free business email address, many guides suggest that while free services can work initially, investing in a paid solution offers significant advantages. As one guide points out, "When choosing a service, consider factors like storage capacity, file size limits, and the level of security offered. After selecting your provider, setting up your account is usually a straightforward process." (Elementor)
Paid Email Services (Including Custom Domains)
Paid email services, often part of larger productivity suites, offer enhanced features, greater control, and a more professional image, especially when tied to your own domain name.
- Pros:
- Professional custom domain name (e.g., `[email protected]`).
- Increased storage and sending limits.
- Enhanced security features and support.
- Ad-free experience.
- Collaboration tools and integration with other business applications.
- Better control over user accounts and data.
- Cons:
- Involves a monthly or annual fee.
- Setup can sometimes be slightly more involved (especially domain configuration).
Popular Paid Providers:
- Google Workspace (formerly G Suite): Offers professional Gmail accounts with your custom domain, plus Google Drive, Docs, Sheets, Meet, and more, starting at around $6 per user per month.
- Microsoft 365 (formerly Office 365): Provides professional Outlook accounts with your custom domain, along with Word, Excel, PowerPoint, Teams, and OneDrive, starting at similar price points to Google Workspace.
- Other Business Email Providers: Many hosting companies also offer email services bundled with web hosting, or you can opt for specialized business email solutions.
For most professionals and businesses, especially those serious about branding and reliability, a paid option with a custom domain is the preferred choice. It’s a small investment that pays significant dividends in credibility.
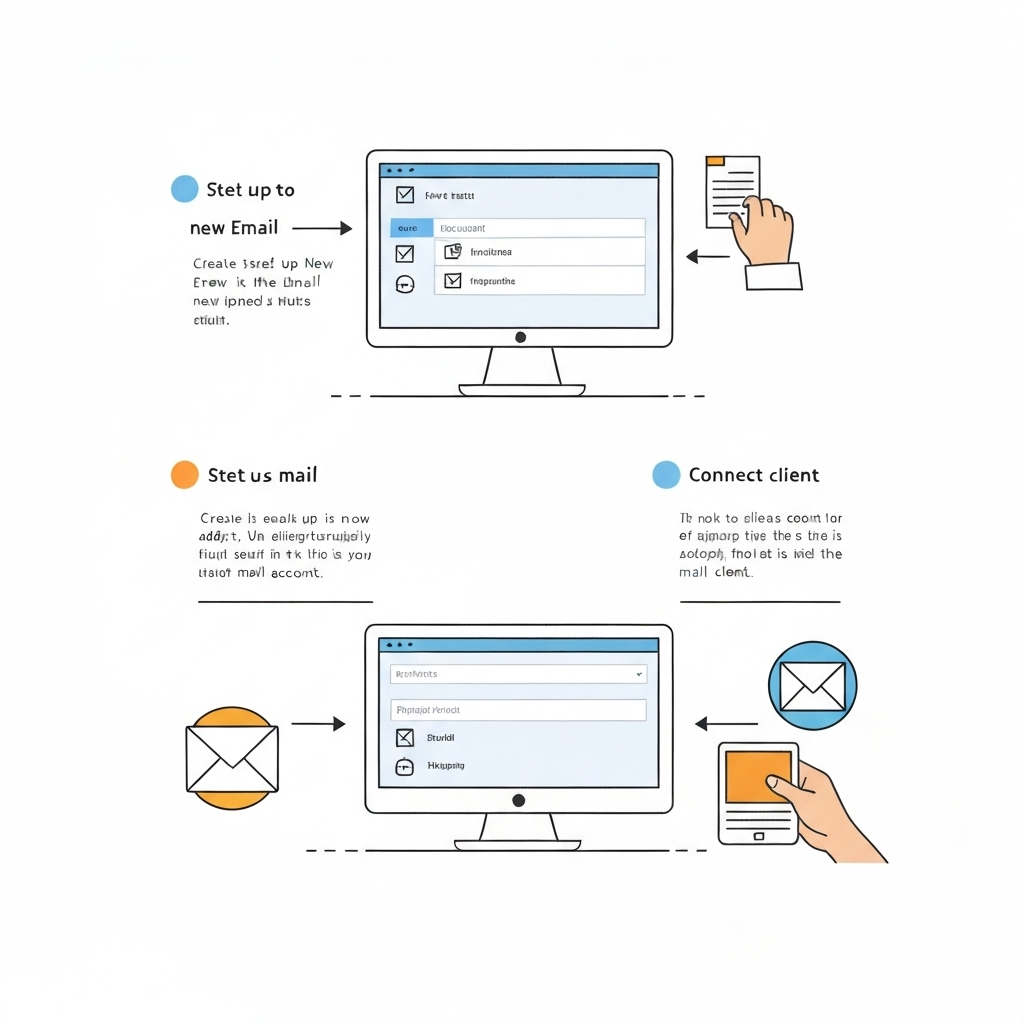
Step-by-Step: Creating Your New Email Account
The actual process to set up new email address accounts is remarkably similar across most providers. While the interface might differ slightly, the core steps remain the same. Let's walk through the general procedure:
1. Choose Your Provider and Navigate to Their Sign-Up Page
Based on the previous section, decide whether a free or paid service is best for you. Once decided, visit the provider's website (e.g., gmail.com, outlook.com, mail.com, or your chosen Google Workspace/Microsoft 365 portal).
2. Initiate the Sign-Up Process
Look for buttons like "Create Account," "Sign Up," "Get Started," or similar. For instance, at Mail.com, you'd click the “Free sign-up” button. (Mail.com)
3. Provide Basic Information
You'll typically need to enter your first and last name. Some services might ask for your date of birth and gender for account verification and personalization. Certain providers, like Atomic Mail, emphasize minimal data collection, stating, "We don't require your phone number, additional email, or any sensitive information. All we ask for is your first name (and optionally, last name) for a fast and secure setup." (Atomic Mail)
4. Choose Your Email Address (Username)
This is where you select the part before the "@" symbol. This is a critical step for creating a professional identity. We'll delve deeper into this in the next section.
5. Create a Strong Password
Security is paramount. You'll need to create a password that is difficult for others to guess. We'll cover best practices shortly.
6. Add Recovery Information (Optional but Recommended)
Most providers will ask for a recovery phone number or an alternative email address. This is vital for regaining access to your account if you forget your password or if your account is compromised.
7. Agree to Terms and Conditions
Review the provider's terms of service and privacy policy, then check the box to agree.
8. Verify Your Account (If Required)
Some providers may send a verification code to your phone number or alternative email to confirm you're a real person. Enter this code to complete the setup.
As one guide notes, "It only takes a couple of minutes to create your email account." (ACU's Asterisk Blog) Once these steps are complete, your new email account is ready to go!
Selecting a Professional Username and Strong Password
Your username and password are the gatekeepers to your new email account. Making thoughtful choices here is crucial for both professionalism and security.
Choosing a Professional Username
Your email address is an extension of your identity. For business purposes, aim for clarity, professionalism, and memorability.
- For Individuals:
- `[email protected]` (e.g., `[email protected]`)
- `[email protected]` (e.g., `[email protected]`)
- `[email protected]` (e.g., `[email protected]`)
- If your name is common, consider adding a middle initial or a relevant descriptor (e.g., `[email protected]`).
- For Businesses (using custom domains):
- Standard addresses: `[email protected]`, `[email protected]`, `[email protected]`, `[email protected]`
- Personalized addresses: `[email protected]`
Tips for Selecting a Username:
- Keep it Simple: Avoid overly complex spellings, numbers (unless part of your name/brand), or hyphens if possible.
- Be Consistent: If you have other online presences, try to keep your email username similar.
- Check Availability: Your desired username might already be taken. Be prepared with a few alternatives.
- Avoid:**
- Cute or informal names (e.g., `partyanimal@...`).
- Numbers that don't have a clear meaning (e.g., `user12345@...`).
- Misspellings or unprofessional variations.
If you're setting up an account for your business, remember that a custom domain email address is a significant step towards building a strong brand. You can learn more about how website email boosts your business credibility.
Creating a Strong Password
A weak password is an open invitation for hackers. Follow these guidelines to create a password that protects your account:
- Length is Key: Aim for at least 12-15 characters. Longer passwords are exponentially harder to crack.
- Use a Passphrase: Think of a memorable sentence and turn it into a password. For example, "My dog loves to chase squirrels in the park!" could become `Mydoglovestochasesquirrelsinthepark!`.
- Mix It Up: Include a combination of uppercase letters, lowercase letters, numbers, and symbols.
- Avoid Obvious Information: Never use your name, birthdate, pet's name, or common words.
- Don't Reuse Passwords: Use a unique password for each online account.
- Consider a Password Manager: Tools like LastPass, 1Password, or Bitwarden can generate and store complex, unique passwords for all your accounts, making it easy to manage them securely.
While creating a strong password is the first line of defense, it's also wise to implement additional security measures, such as enabling two-factor authentication (2FA) and being vigilant against phishing attempts. Sometimes, even with the best practices, malicious emails can sneak through. Having a reliable email blocker can be a crucial part of your defense strategy.
Essential Settings: Configuration and Customization
Once your account is created, taking a few minutes to configure essential settings can dramatically improve your efficiency and professional presentation.
1. Set Up Your Email Signature
A professional email signature is non-negotiable for business communication. It should include:
- Your Full Name
- Your Title/Position
- Your Company Name
- Your Website (if applicable)
- Your Phone Number
- Links to Social Media Profiles (e.g., LinkedIn)
Most email providers allow you to create and save a signature that is automatically appended to your outgoing emails. This ensures consistency and provides essential contact information.
2. Configure Email Forwarding (Optional)
If you're consolidating emails from multiple addresses into one primary inbox, setting up forwarding is a lifesaver. For example, you can forward emails from an older account or a specific project account to your new main inbox.
3. Set Up Auto-Responders (Out-of-Office)
When you're on vacation or attending a conference, an out-of-office auto-responder lets senders know you're unavailable and when they can expect a reply. This manages expectations and shows professionalism.
4. Organize with Labels/Folders
Develop a system of folders or labels early on to categorize incoming emails. This could be by project, client, sender, or urgency. A well-organized inbox reduces clutter and makes finding information much faster.
5. Adjust Notification Settings
Configure how and when you receive notifications for new emails. For instance, you might want desktop notifications for urgent messages but only check less critical inboxes at set times.
6. Explore AI and Automation Tools
Modern email management goes beyond basic settings. For those looking to truly supercharge their email management, consider leveraging tools like an ai executive assistant to handle routine tasks, schedule follow-ups, and even draft responses, freeing you up for more strategic work. These advanced solutions can significantly boost productivity and help you navigate the complexities of high-volume email.
By customizing these settings, you transform your new email account from a simple communication tool into a powerful productivity hub.
Basic Security Measures for Your New Email
While choosing a reputable provider and a strong password is a great start, implementing additional security measures is crucial to protect your new email address from unauthorized access and cyber threats.
1. Enable Two-Factor Authentication (2FA)
This is arguably the single most effective step you can take to secure your account. 2FA adds an extra layer of security by requiring a second form of verification (besides your password) to log in. This could be a code sent to your phone, a code from an authenticator app (like Google Authenticator or Authy), or a physical security key. Even if someone steals your password, they won't be able to access your account without the second factor.
2. Be Wary of Phishing Attempts
Phishing emails are designed to trick you into revealing sensitive information (like passwords or credit card details) or clicking on malicious links. Always scrutinize emails that ask for personal information, create a sense of urgency, or come from an unexpected sender. Hover over links to see the actual URL before clicking. If an email seems suspicious, it's better to err on the side of caution.
3. Keep Your Software Updated
Ensure your web browser, operating system, and any antivirus software are always up-to-date. Updates often include critical security patches that protect against newly discovered vulnerabilities.
4. Use a Secure Network
Avoid accessing your email on public Wi-Fi networks without a Virtual Private Network (VPN), as these networks are more susceptible to interception.
5. Regularly Review Account Activity
Most email providers offer a way to see recent login activity. Periodically check this to ensure there's no unrecognized access to your account.
Prioritizing security from day one is essential. It protects your personal data, business communications, and reputation from potential breaches.
Integrating Your New Email with Other Services
Your email account doesn't exist in a vacuum. It's a central hub that often connects to many other digital tools and services you use daily.
- Desktop Email Clients: Configure your new email address in desktop applications like Microsoft Outlook, Apple Mail, or Thunderbird. This allows for offline access and often offers more advanced features.
- Mobile Devices: Set up your email on your smartphone or tablet so you can stay connected on the go.
- Productivity Suites: If you're using Google Workspace or Microsoft 365, your email is integrated with their respective cloud storage, document editing, and video conferencing tools.
- Customer Relationship Management (CRM) Systems: For businesses, integrating your email with a CRM (like HubSpot, Salesforce, Zoho CRM) allows you to track customer interactions, log emails, and manage leads more effectively.
- Project Management Tools: Some project management tools allow you to send emails directly to a specific project or task, creating a record within the project management system.
- Third-Party Apps: Many other applications, from scheduling tools to note-taking apps, can connect to your email for various functionalities.
When setting up integrations, always be mindful of the permissions you grant. Ensure you understand what data the third-party app will access before authorizing it.
Conclusion: Next Steps for Email Productivity
You've learned how to set up new email address accounts quickly and efficiently, choose the right provider, secure your account, and configure essential settings. This process is more than just creating an online mailbox; it's about establishing a professional presence and a functional tool for communication and productivity. A well-managed email inbox is the cornerstone of effective professional life.
Now that you have your new, clean email address, consider these next steps to maximize its potential:
- Develop a Workflow: Define how you'll process emails. Will you check them at specific times? Use the inbox zero method?
- Explore Advanced Features: Dive deeper into your provider's features, such as custom filters, templates, or advanced search operators.
- Tackle Email Overload: If you anticipate a high volume of emails, explore strategies and tools to manage them. You can find expert help for busy professionals to beat email overload.
- Leverage AI: As mentioned, modern solutions like an ai executive assistant can revolutionize how you handle your inbox, automating tasks and freeing up valuable time. Tools like conversational AI are also transforming email writing and management.
Remember, setting up your email account is just the first step. The real power comes from how you use and manage it. By following these guidelines, you're well on your way to a more organized, professional, and productive digital life. Congratulations on taking this important step to create email account that serves your needs!
```

Frequently Asked Questions
